
 Prep: 10
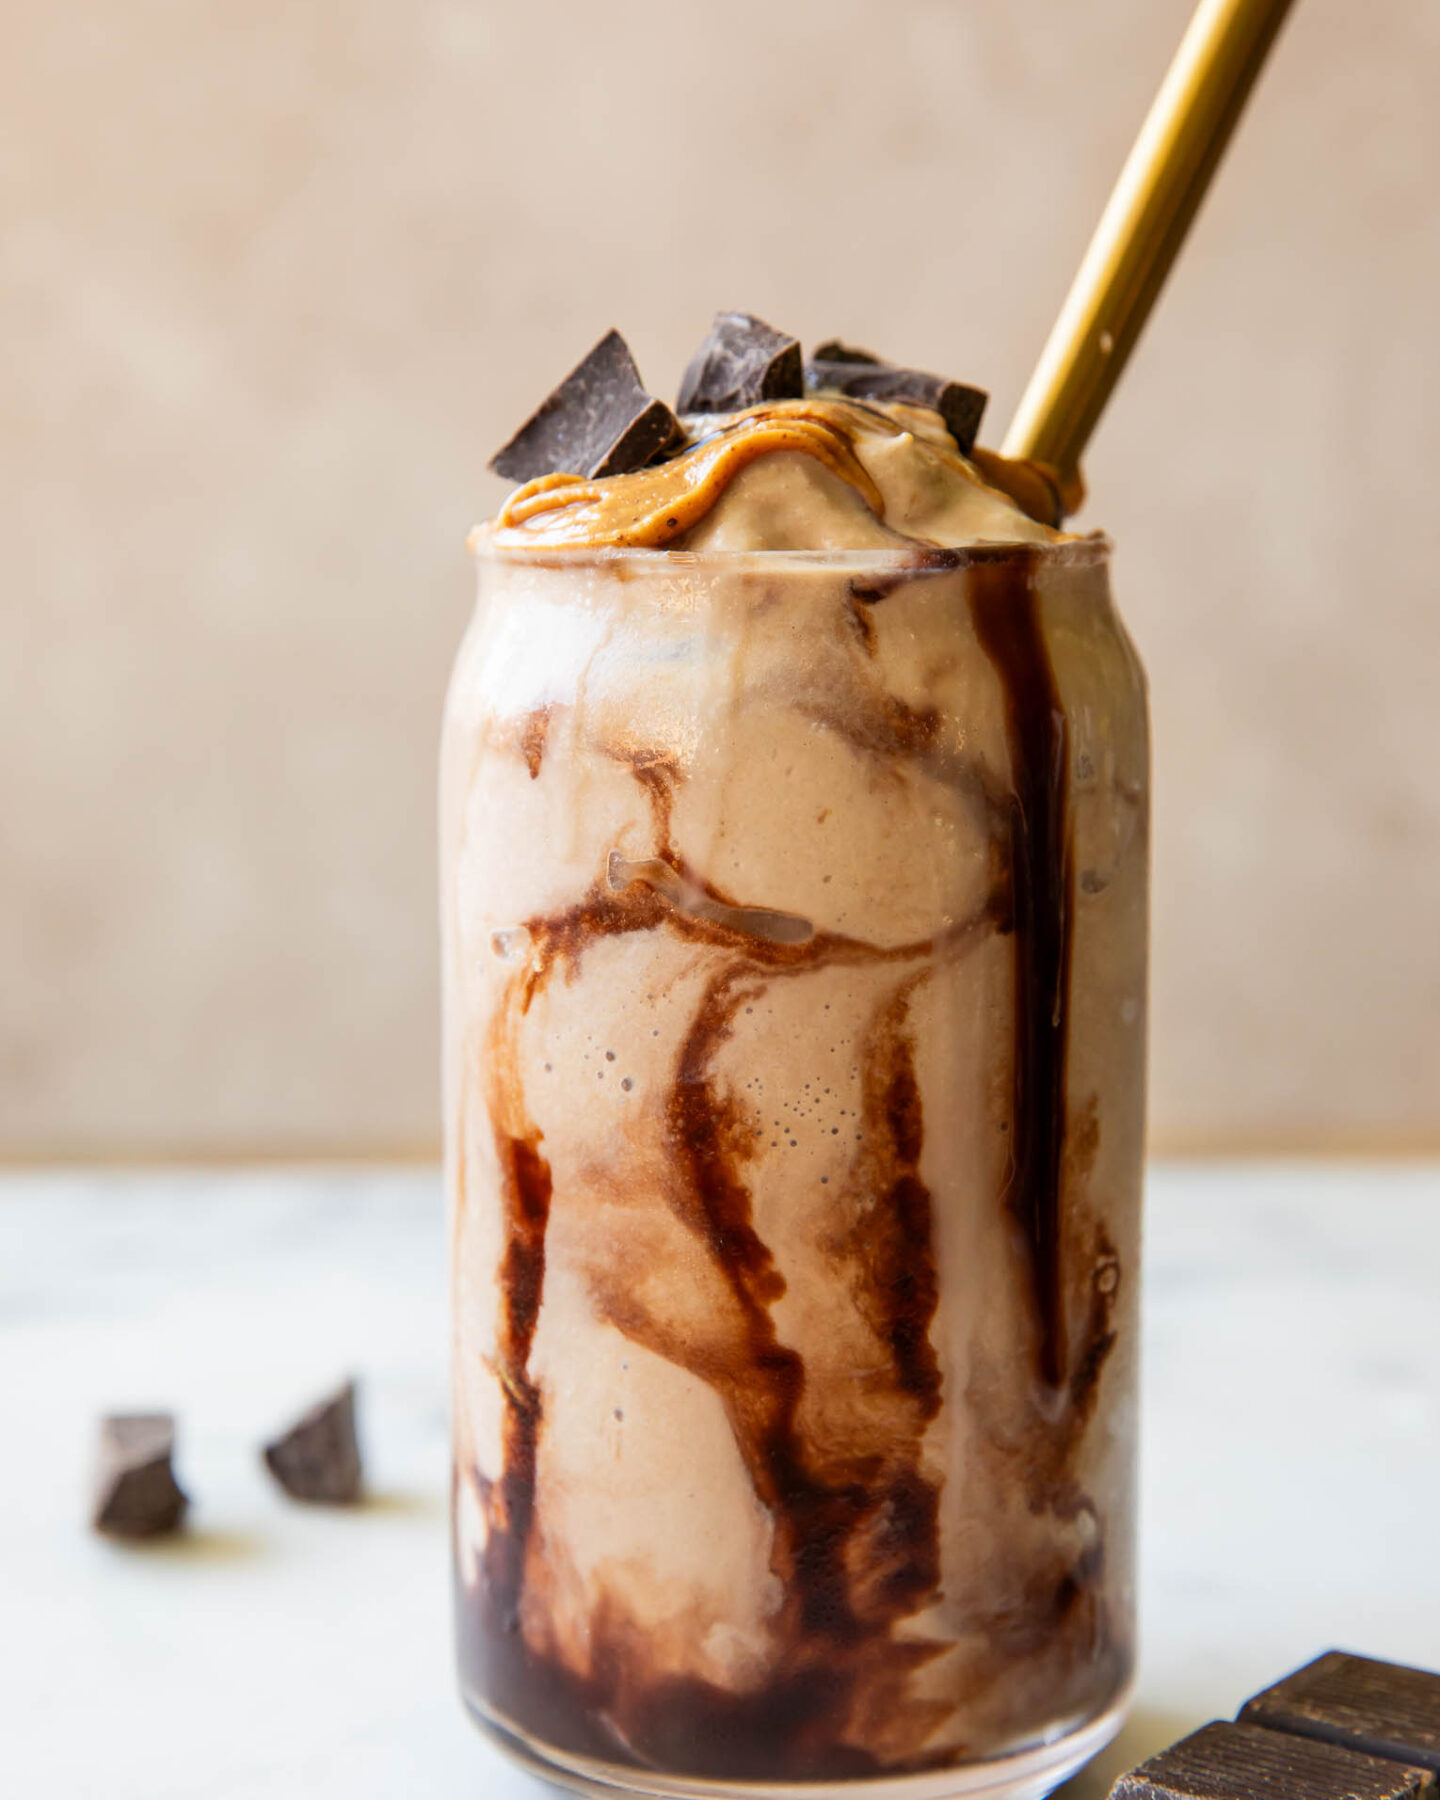
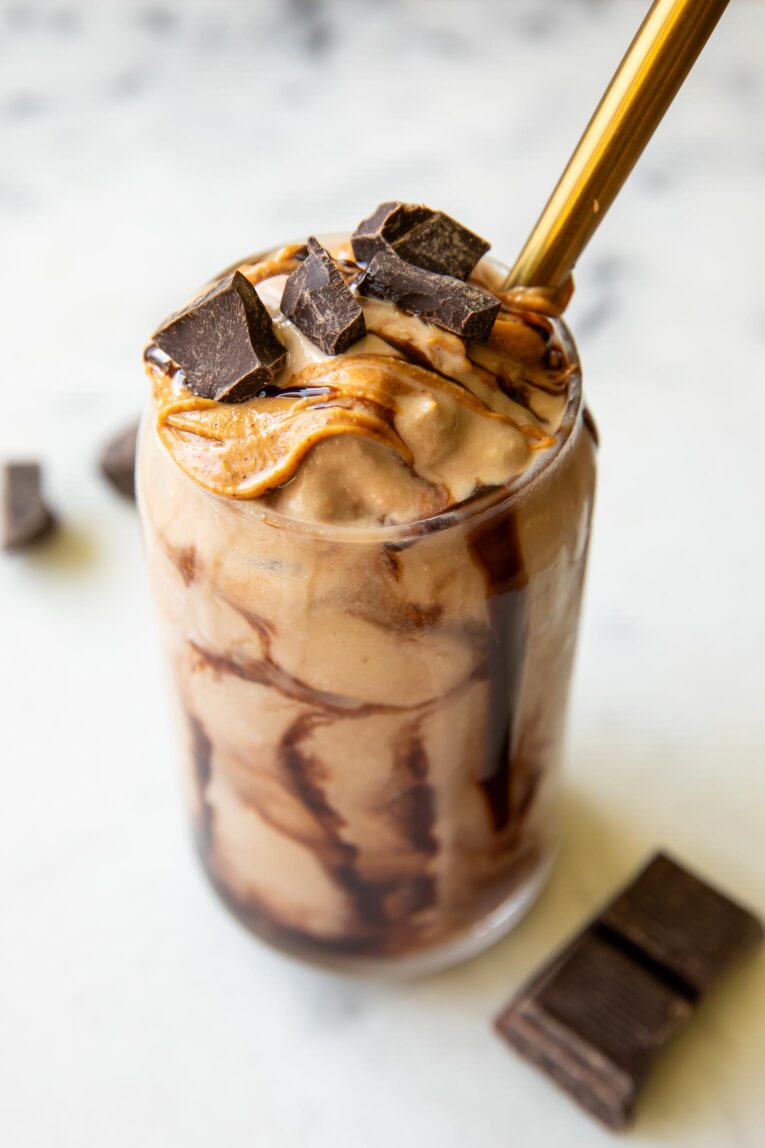
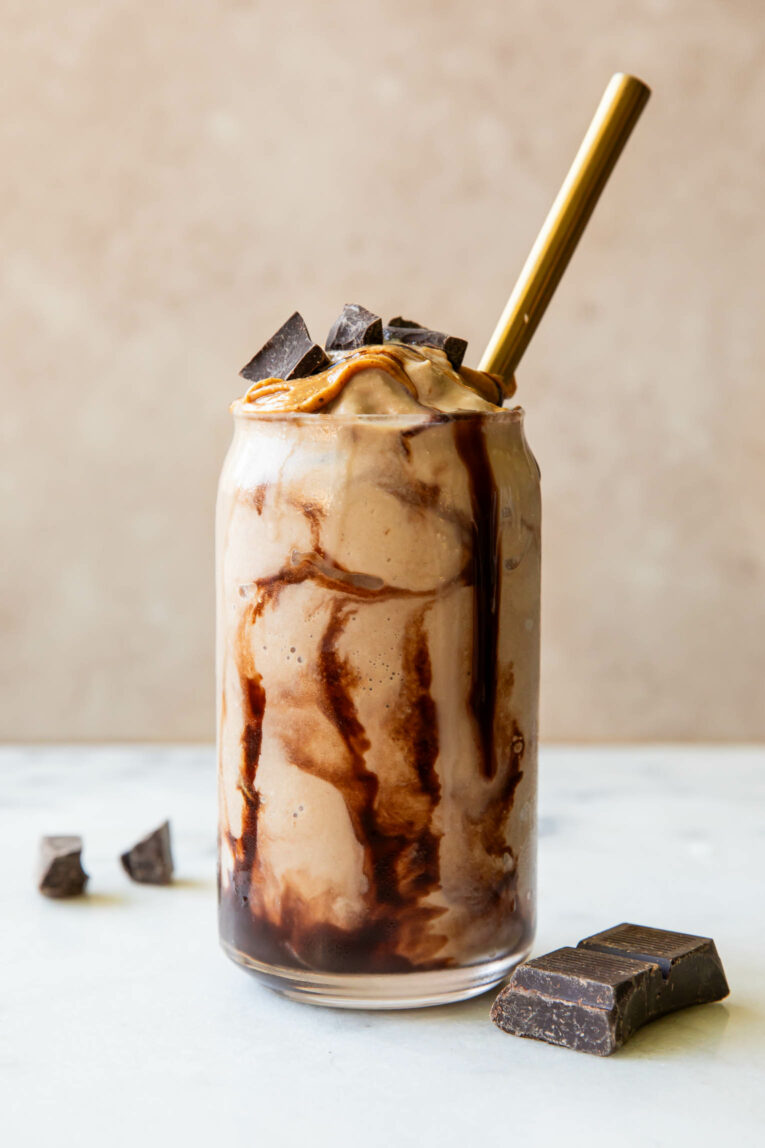
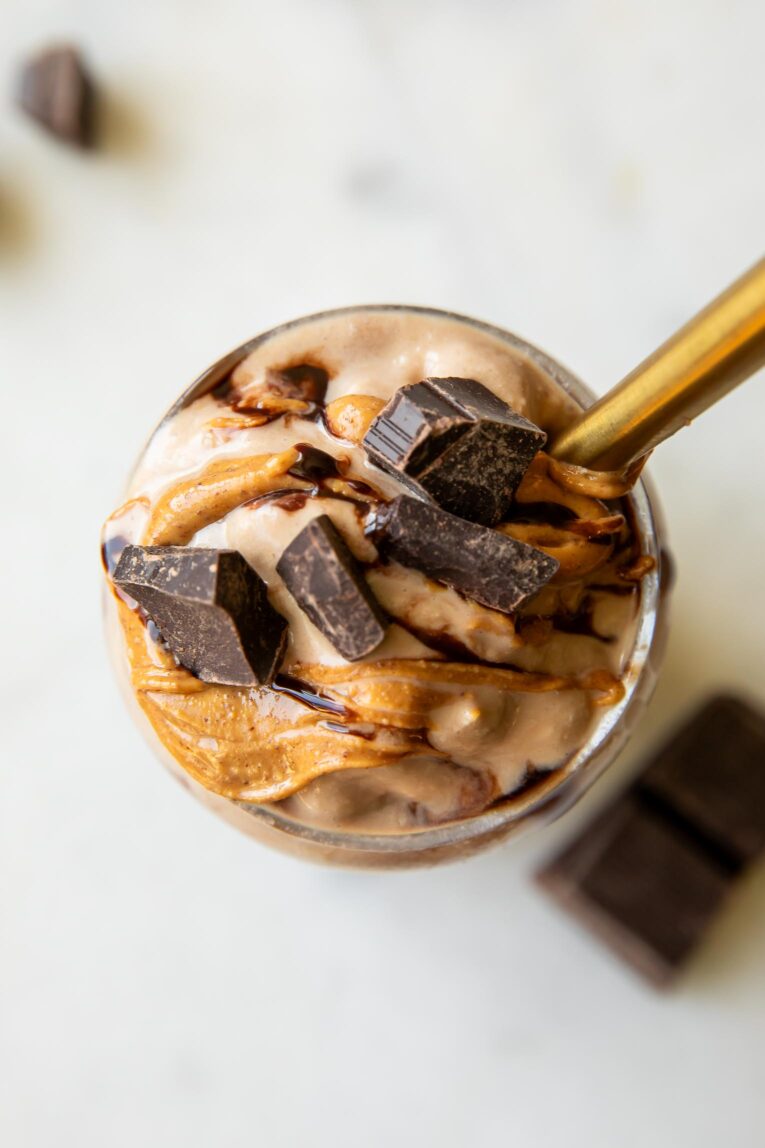
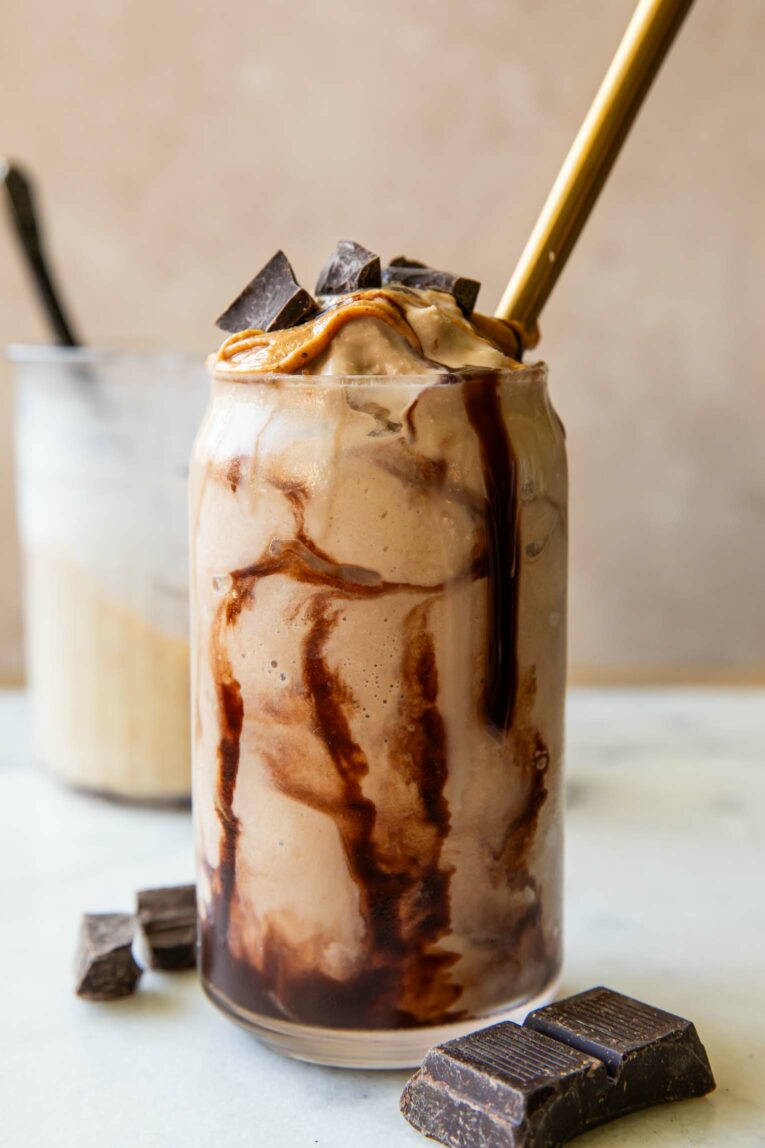
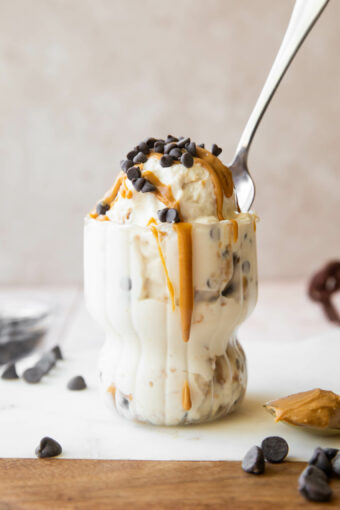
 This Protein Milkshake recipe is easily made in a Ninja Creami and has 14 grams of protein! My kids and I have been making this healthy treat all summer long and we are so obsessed. It’s creamy, chocolatey, and SO good. You’d never even guess that it’s healthy, gluten-free, and dairy-free! And if you don’t have a Creami, you can also make it in a blender. If you’ve been wanting to add more protein to your daily routine, then you’ll love this failproof method for the best protein milkshake – it works every single time!

Ninja Creami Protein Milkshake
I’m all about fun, frozen drinks that are better for you! Sometimes I’m craving something fruity like a Healthy Mango Banana Smoothie or something chocolatey like my Chunky Monkey Smoothie. But when I got my Ninja Creami machine I knew I needed to make my go-to healthy and protein-rich milkshake recipe in it!
I love how versatile this recipe is and it’s perfect for anyone with a sweet tooth (like me) while providing a boost of protein. Whether you’re looking for a post-workout snack or simply craving something chocolatey and sweet, this milkshake is both indulgent and nourishing. Your whole family is going to love it!
Why You’ll Love this Protein Milkshake Recipe!
- EASY – The steps are so simple, and I love how the Ninja Creami (opens in a new tab) does all of the work for you!
- HEALTHY – It’s dairy-free, vegan, and with 14 grams of protein in just one cup, you’ll fuel your body well with this delicious treat.
- FAILPROOF – Tested and retested (and tested again), this easy method of making a protein shake is tried and true.
- DELISH – Chocolatey, creamy, with a peanut butter twist, this protein shake is next-level good. It’s perfect for chocolate ice cream cravings!
Ninja Creami Protein Shake Ingredients
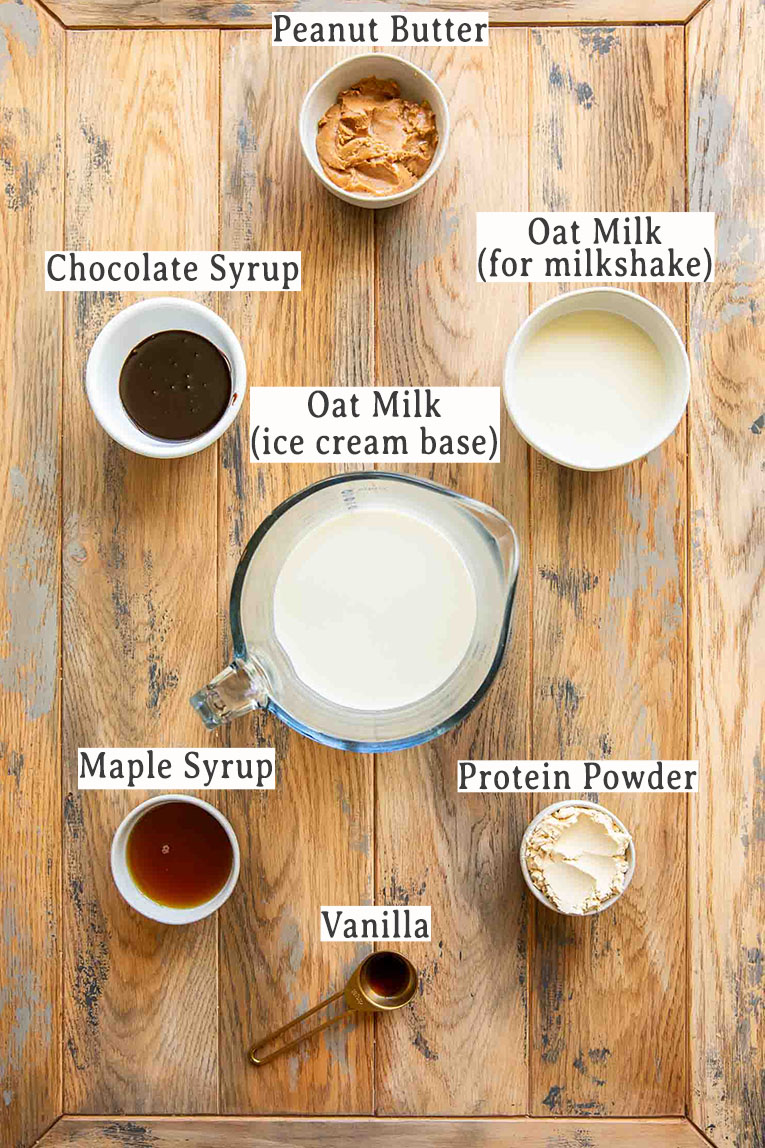
The Ninja Creami protein ice cream recipe is based on my Ninja Creami Snickers Protein Ice Cream, and then you just need a few more things to turn it into a milkshake. You can also use store-bought protein ice cream as a base to save time! Here’s what you’ll need:
- Oat Milk – I use oat milk in the protein ice cream base along with using it as the milk in the milkshake. The thick consistency, super creamy texture, and flavor all work so well as the milk in a dairy-free ice cream treat! You can substitute it with other kinds of milk, like soy, cashew, and cow’s milk, but I suggest not using almond milk in the ice cream base as it is quite thin and turns out icy when frozen. You can, however, use it as the liquid when turning it into a milkshake!
- Peanut Butter – Optional, but it does make the base creamier and thicker! Use any nut butter you like. Almond butter (opens in a new tab) or sun butter (opens in a new tab) would be great alternatives.
- Maple Syrup – Adds just the right amount of sweet flavor! The flavor of honey is too strong for this ice cream base, but you can always use granulated sugar like coconut sugar (opens in a new tab). Just make sure it has completely dissolved into the ice cream before freezing it.
- Vanilla Extract – I like adding a little more vanilla flavor on top of the protein powder to really bring out the traditional ice cream taste. You could also substitute with vanilla bean paste for a stronger flavor.
- Vanilla Protein Powder (opens in a new tab) – Use your favorite brand and flavor for the protein ice cream base. Not only does it add sweetness and flavor, it also thickens the ice cream!
- Chocolate Syrup – This recipe uses chocolate syrup (opens in a new tab) for a chocolate milkshake, but I recommend using a lower-sugar or sugar-free syrup. (opens in a new tab) Regular is great, too! Or you can omit this completely.
Tip: Swap oat milk for soy milk to still get a creamy texture but higher protein!
How to Make a Protein Milkshake in the Ninja Creami
Keep the ice cream base ready to go in your freezer, and you can have a healthy protein-packed milkshake in no time! Here’s how to make a Ninja Creami Milkshake:
- Whisk together the ingredients for the ice cream base, and pour it into a Ninja Creami pint container. (opens in a new tab)
- Freeze for 12-24 hours (you can skip these steps if you already have ice cream in your freezer).
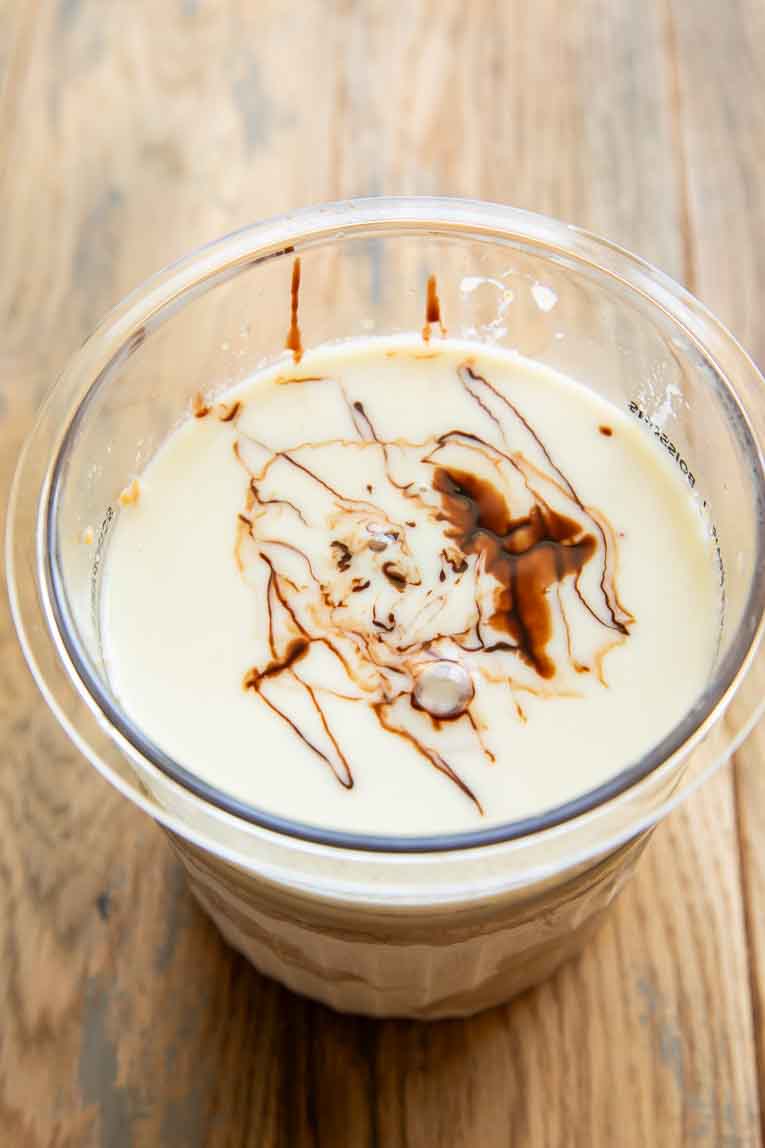
- Remove it from the freezer, add the oat milk and syrup, and spin it on the milkshake setting.
- Stir it, re-spin it, and pour it into your glass. Enjoy!
How to make a Protein Milkshake in a Blender
While there’s nothing like the texture of this protein milkshake when it’s made in the Ninja Creami (opens in a new tab) (I’m pretty obsessed), you can also make this recipe in a high-speed blender! (opens in a new tab) Here’s how to make it in a blender:
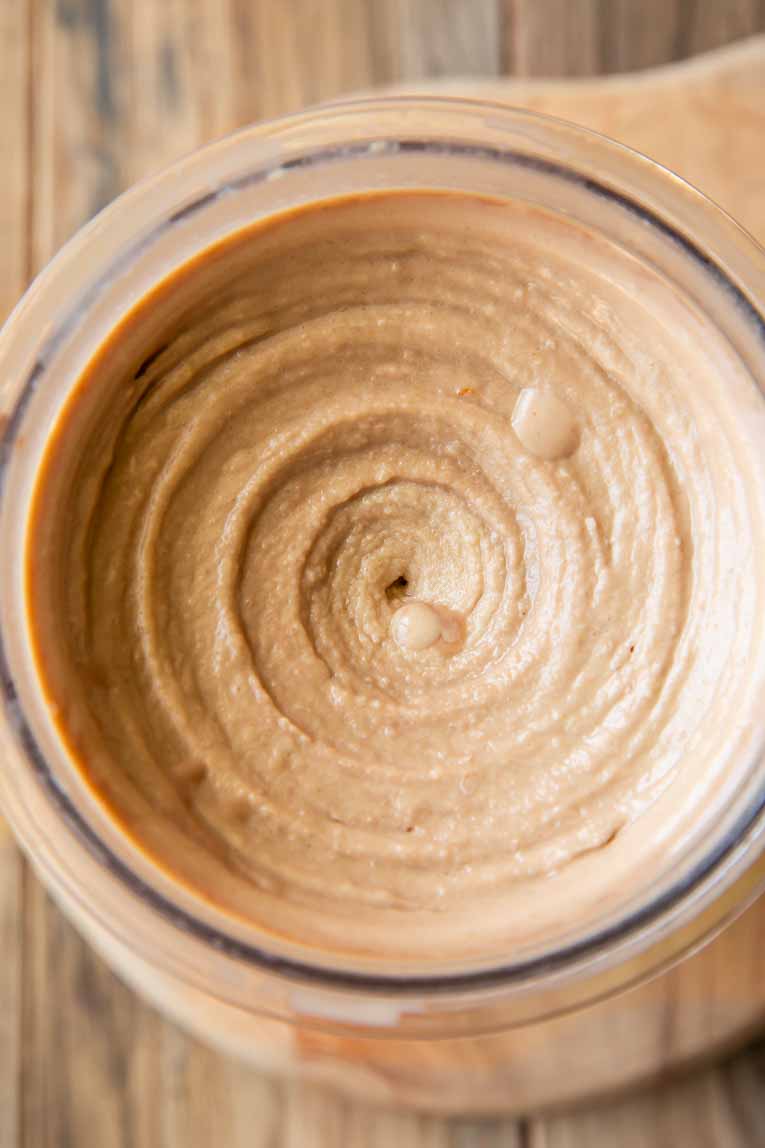
- Whisk together oat milk (or any plant-based milk), peanut butter, maple syrup, vanilla extract, and vanilla protein powder to create the ice cream base. Pour it into a Ninja Creami pint container. (opens in a new tab)
- Add it to the blender along with the plant-based milk and chocolate syrup.
- Blend until smooth, adding more milk if desired for a thinner consistency.
- Add any toppings you want and enjoy!
Ninja Creami Milkshake Flavor Ideas
The variations on a protein milkshake are endless! Here are a few ideas:
- Strawberry – Replace the chocolate syrup with organic strawberry syrup (opens in a new tab).
- Mint Chocolate – Substitute the vanilla extract with mint extract (opens in a new tab) and add some mini chocolate chips to the ice cream base recipe.
- Cookies N’ Cream – Omit the chocolate syrup, and before adding in the milk, spin the ice cream on the ice cream setting, add crushed cookie pieces, and spin for mix-ins. Then add the milk, and spin on the milkshake setting.
- Almond Joy – Substitute the peanut butter with almond butter, vanilla extract with almond extract, and add shredded coconut to the ice cream base before freezing.
- Peaches N’ Cream – Replace the peanut butter with cashew butter or almond butter, and chocolate syrup with organic peach syrup (opens in a new tab).
- Mocha – Instead of 1/2 cup oat milk, use 1/4 cup brewed coffee and 1/4 cup milk before the first spin.
How to Store Leftover Protein Powder Milkshake
Pour any leftover milkshake back into a Ninja Creami pint container and freeze for up to a week. To serve allow it to sit on the counter for 10 minutes, add a tablespoon of milk, and spin in the Ninja Creami on the milkshake setting.
More Healthy Protein Treats
- Protein Donuts
- Strawberry Protein Pop Tarts
- Protein Cheesecake Recipe
- Protein Brownie Bites
- Gingerbread Cookie Protein Bites
More Healthy Frozen Desserts
- Cottage Cheese IceCream
- Blueberry Vanilla Protein ShakeRecipe
- Healthy Buster Bars
- Frozen Yogurt Granola Cups
- Brownie Batter IceCream
Save This Recipe
Enter your email address and we'll send it straight to your inbox.
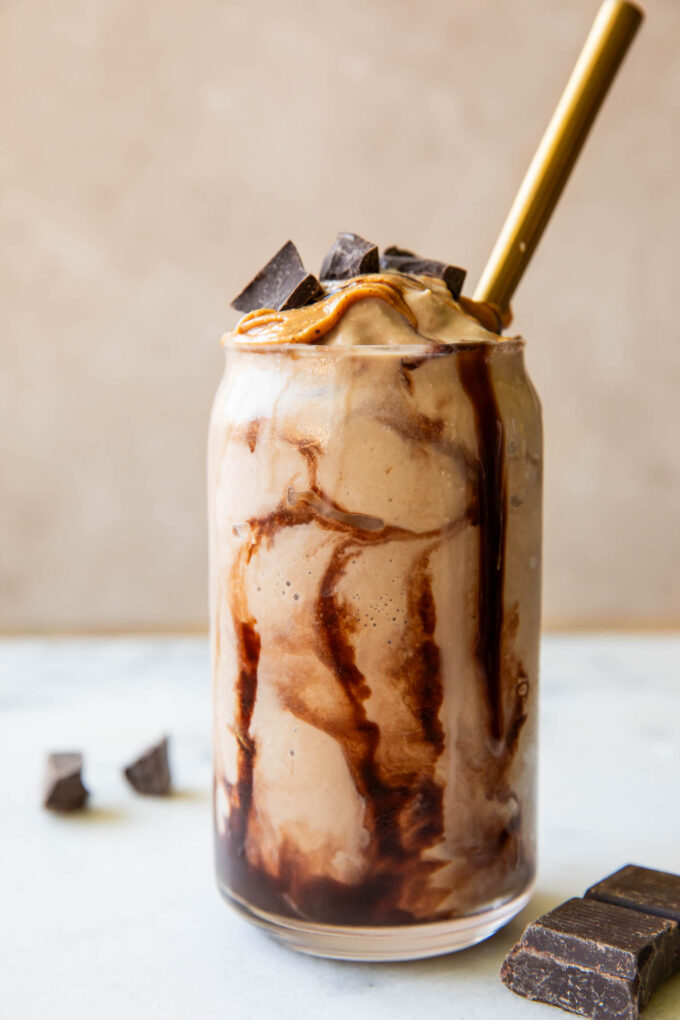
Ninja Creami Protein Milkshake
Equipment
Ingredients
Ice Cream Base
- 2 cups oat milk (opens in a new tab)
- 1/4 cup peanut butter (opens in a new tab)
- 1/4 cup maple syrup
- 1 teaspoon vanilla extract
- 1/4 cup vanilla protein powder (opens in a new tab)
Milkshake Add-Ins
- 1/2 cup oat milk (opens in a new tab)
- 2-3 Tablespoons chocolate syrup (opens in a new tab) (lower-sugar or sugar-free option is best!)
Instructions
- Whisk together the ice cream base ingredients.
- Pour the mixture into a Ninja Creami pint container and freeze for 12-24 hours.
- Remove the lid, add the milk and chocolate syrup, and spin on the milkshake setting.
- Remove and stir, and respin on the milkshake setting.
- It will be thick but melts quickly into a thick milkshake consistency!
Watch Me Make This
Notes
Nutrition
Did you make this? I’d love to see!
Tag me on socials at @JarOfLemons (opens in a new tab) or #JarOfLemons (opens in a new tab)
If you don’t have protein powder, could you substitute with collagen powder instead please?
Yes, absolutely!